In this guide, I’ll be showing you how to set up products in your online WordPress WooCommerce store. There are a number of settings that you need to pay attention to, and several different ways of setting up products.
I’ll be showing you how to do it yourself. There are many different ways of showing your customers the products available on your online WordPress WooCommerce store, so the purpose of the guide is to give you an understanding of what you’re able to do and what the point of the different parts of the WooCommerce product setup is.
I’ll also touch on the subject of inventory, which WooCommerce can help you handle. But let’s get started by having a closer look at your products. Start by logging onto the Admin Panel.
CONTENTS OF THE GUIDE
The various options will be explained in detail in the section “Products” in your Admin Panel, including product setup and inventory management of your store and how you write a product description.
First, you get an explanation of the different points that you can change in your product. This provides a better understanding of how to create your products in your shop.
Finally, you’ll also find out how to set up a product.
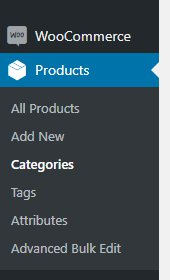
GO TO “PRODUCTS”

Once on the Admin Panel, click “Products” in the drop-down menu. You’ll see some options now, out of which you should select “Add New“.
This is where you’ll be able to find your products once set up. The other categories are not important as of right now. You could, for example, easily create a category for your product under “Add Product.” I’ll explain further later on.
Start by selecting “Add New“.
As you can see, you set up a product in the same way as you would a blog post or a page. That’s definitely the reason why WooCommerce is super easy to work with. But let’s start off with an explanation of the different terms mentioned.
HOW TO SET UP A PRODUCT
- Start by naming your product.

Keep SEO in mind when creating your products, meaning the name might determine whether or not customers can find your product through search engines.
- Write a product description.
Here you should also keep SEO in mind. And be accurate in the description, if you write something wrong you can risk getting the product returned from the customer because he feels that he didn’t get what he ordered.
- Fill out the “Product Data”. This section can be found underneath your product description.
Here you can edit a number of things associated with your product. This is also where you’ll enter price, weight, amount, etc, which is why it’s an important section to fill out.
I’ll go into greater detail about this in the next section since what you need to fill out differs.
I chose to fill out the fields as if I had a coffee shop. Just think about what information is relevant to your WordPress store. But read the explanation about what you the different fields are used for.
How to fill out the product data section in WooCommerce
Let’s have a look at some of the things that you can edit under each product, what the different points mean and how to use them. Several of them makes it much easier for you to manage your shop as you can get WooCommerce to automatically manage a lot of things.
In this example, I’ve chosen to edit a single product. If we’re dealing with a virtual product, start by checking the box “Virtual.” If the product can be downloaded after purchase, check the box “Downloadable.” We’re pretending you have an online store with physical products. If there is anything that you’re unsure of as a seller of non-physical products, just comment this post.
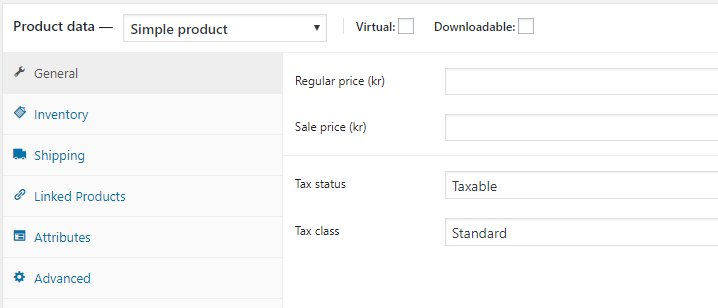
The menu item General
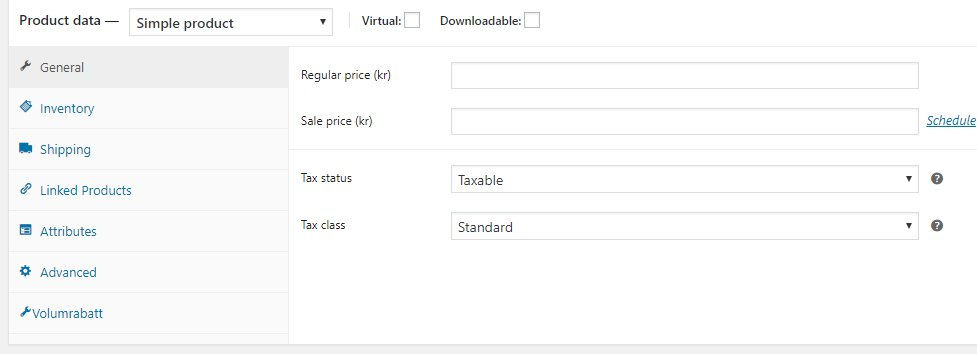
Regular Price ($)
The regular price is the price of your products.
Sale Price ($)
Sale Price is used if you put one of your products on sale. The clever thing about this feature is that you can choose how long the product should be on sale for. Once the sale ends, the product will go back to its regular price.
Tax Status
This section allows you to determine if your product price includes sales tax or not. You generally shouldn’t edit this for every product.
This means that your product will be taxable if you select it to be under the sales tax settings. You’re not meant to fill this out every single time you set up a product.
Tax class
You can create different tax classes in your tax settings. If you’re only focusing on German customers, you only need one tax bracket. If that’s the case for you, you don’t need to fill out this field when you’re setting up a product. This will be set as the standard.
Inventory

This section is great because it gives you the option of letting WooCommerce deal with your inventory management. Not having to keep track of how many items you have is a huge help. If you’d like to know anyway, you can always just take a look at your WordPress store – then you’ll see the answer as clear as day. But let’s look at how to set up this section properly so that you can operate your business more efficiently.
Item Number (SKU)
Here you can give the products a unique name. This is usually a number that allows an external system to register your products separately. The system needing to sort your products by name would be quite a hassle since there may be two products that have the same name. Having a unique code that distinguishes your products apart is just easier for this purpose.
Take for example if I had an online store where I use an external supplier that delivers my items to the customer. My supplier would then have provided all the products with a unique code that I have written into WooCommerce. My products would then be named properly so that my external supplier’s IT system will know the difference between my products when I retrieve data.
Another example is barcodes, as you recognize from your local supermarket. Here all products have a unique code, allowing the store to keep track of what is left in stock and what has been sold.
You can easily skip this section if you’re not using an external system. WooCommerce can handle the inventory just fine without this section being filled out.
Manage Inventory?
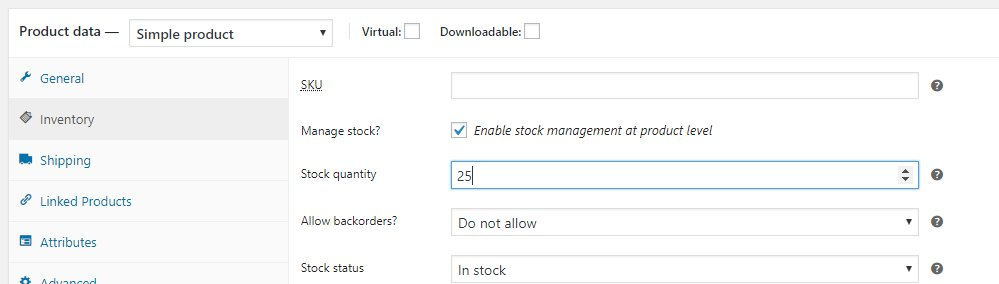
Start managing your inventory by ticking the “Enable stock management at the product level”. Once selected, you’ll get a new item called “Units in stock.” This field is essential when it comes to inventory management.
Units in stock
Every time you create a new product in WooCommerce, you have to fill out how many units of the product you have. If you make sure to always do this, you won’t have to worry about it anymore since WordPress will take care of it for you.
Believe me – it makes running your shop much easier.

Fill out the number of units you have, just like I did in the image above.
Stock Availability

In our example, the product is obviously in stock as I have 50 units. But you can easily set up the product and make sure that everything it’s ready before you’ve received it. For example, you know that you’ll soon be receiving 50 units of the product. So you can fill out the “Units in stock” section in the same way – just select “Out of stock” instead.
Once the products have been received, you’ll just have to change the status to “In stock.”
Allow backorders?

Here you can choose whether your customers can buy products that are not in stock. If you were to allow this, I would also recommend that you select “Allow – but notify customer.”
This way you’ll give your customer the opportunity of buying products that are sold out but you can still tell them that you do not have the product in stock right now.
Sold Individually
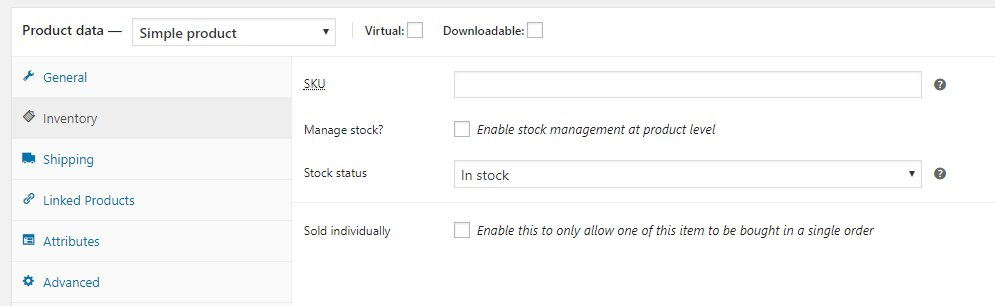
This section shouldn’t be used if you’re just running an ordinary online store it’ll give customers the opportunity of buying all your products.
Shipping

You don’t need to fill out this section if you only sell the same type of goods. But if your products differ, doing so might be a good idea. This is especially important when it comes to shipping cost.
Some things could, for example, be shipped as regular letters in the mail as long as they don’t weigh a lot. Other heavier items should be sent by parcel instead.
Weight

Here you enter how much your product weighs. Filling this out is a good idea as it gives your customer a lot of useful information. Most shop themes retrieve information that allows the customers to see what they’ve purchased.
Size

This is where you enter the product size.
Shipping Class

If you’ve selected several shipping classes, you can select these here. I haven’t included any shipping classes in this guide, so I can’t choose them as an example.
Similar Products
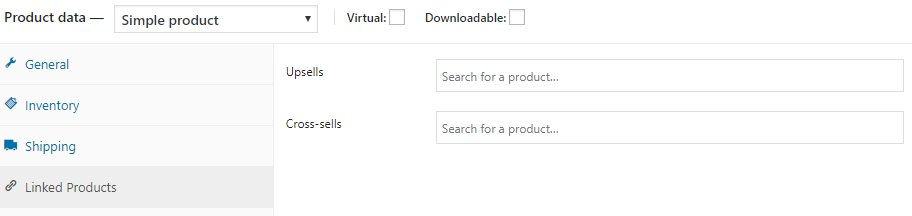
Here you can link your products to other products. This allows WooCommerce to suggest similar products to your customers, allowing you to sell more. This is crucial to a lot of online stores as it can create a lot of additional sales and thus lead to increased revenues.
Upselling and Cross-selling in WooCommerce

Here you select products that are similar. Upsales are products that you’d rather sell than the product to your customer is currently looking at, eg. if there’s a product that you’d rather sell because you’ll earn more money.
Cross-sales are products displayed in Checkout that you’d like to sell to the customer, along with the product that you’ve already selected. If you sell speakers, for example, you can offer the customer a set of cables for them.
Advanced
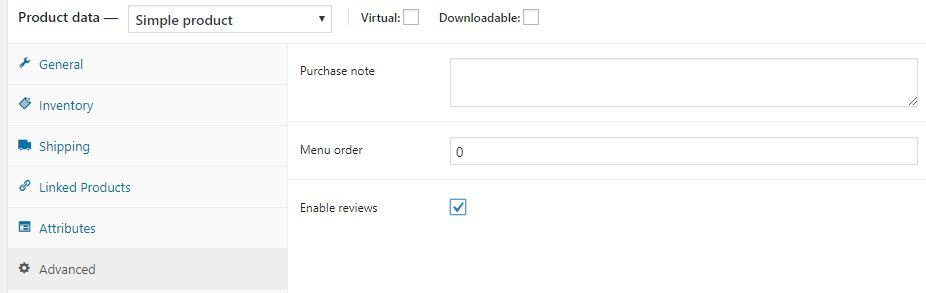
Purchase note

Here you can add a message that you’d like to send to all customers who’ve purchased this product. You can also insert HTML here for letting your customers get a link in their order email to download documentation, manuals etc.
Menu Order

Here you can add a specific order for your products, eg. it may be a good idea for your best selling products to be shown first as it means a greater chance of your visitors buying from you.
Reviews

If you want to give your customers the opportunity to review this product, you can select this here. While setting up the store settings, you already decided whether you wanted to allow reviews or not.
Using the main categories and subcategories in WooCommerce
I’ve had several people ask me what they should do if they want the main categories displayed on the front page. When clicking a main category, they’d like to see the subcategories. Naturally, setting this up is simple.
You must go back to where you set up products.
-
Here you select the menu item Categories
-
Create your main category
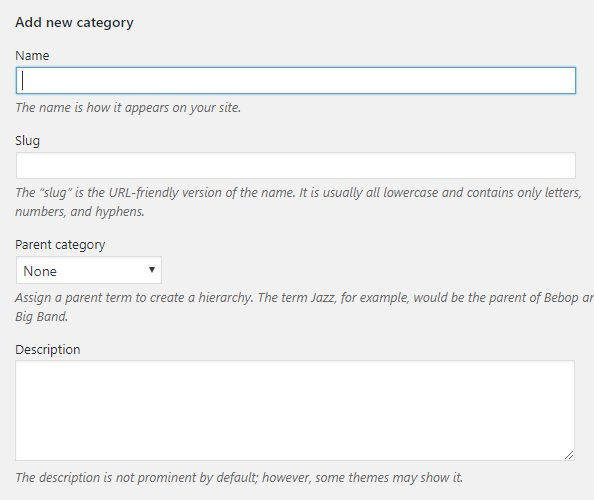
Now, write for example “Food” in your main category. The title must also be entered. When we make a main category, it has no parent category, which is why you’d choose “None”.
All themes might not use a description but you can still write it if you’d like. Basically, it is always good to fill it out because this has great search engine optimization if used properly.
Finally, select “Add new category.”
-
Create subcategory
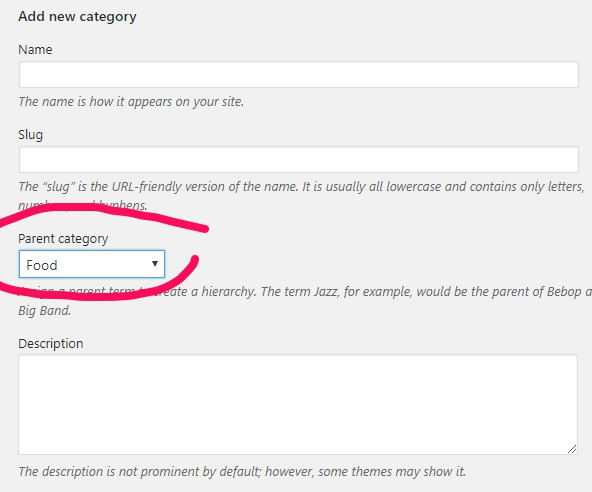
Now we create a subcategory where you can fill all your meat products, or whatever you choose. Here you have to select that the meat category belongs to the main category of “Food.”
Save your new category.
-
Repeat for several subcategories
Just repeat the process if you’d like to have several subcategories. If you have a subcategory for your subcategory, you just have to choose the subcategory to be the “parent category”.
Let’s say you’d like to enter “Beef” under “Meat”. If beef is your product, do not create it as a subcategory but rather as a product. But if, for example, you have several beef products, you should create a subcategory and then products like we did in Point 5.
-
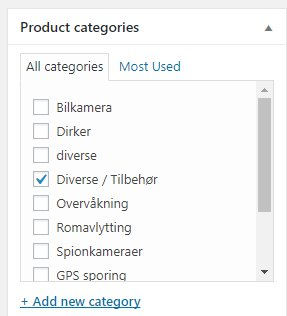
Enter products under the right category
Now you need to create products to your categories. You do this in the same way as you did before.
The only difference is that you must choose your subcategory.
-
Show categories on your homepage or shop page
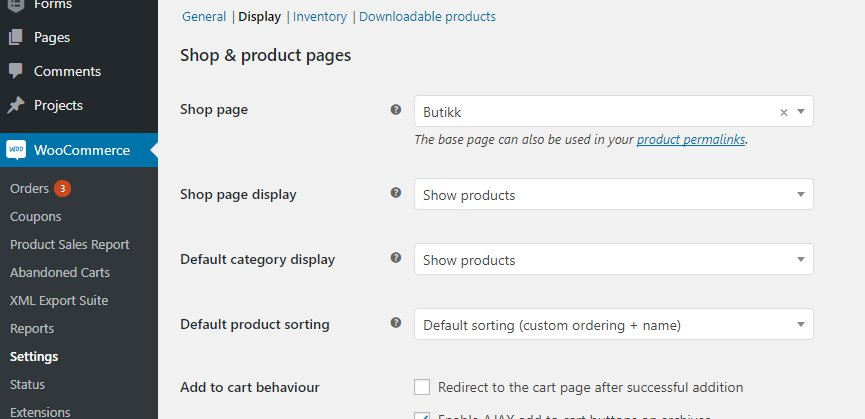
Now go back to “Settings” and then select “Display”
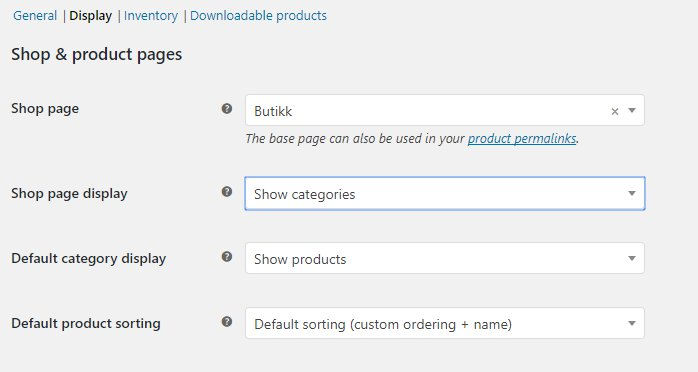
Now change the “Default Category View” to “View subcategories.”
-
Check your Homepage/Shop page

Now you can see your new category on the home page or shop page. When you click on your main category, you’ll see your subcategory.
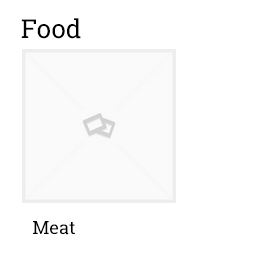
Once you click, you will see all the products in the category “Meat” (or whatever you named your category).
Now you just have to get started on creating all your products in WooCommerce – then you’ll almost be ready to make money.